 reva
revaCleaning Clothes Before You Resell Them
A low-risk routine that makes clothes photograph better without shrinking, fading or hiding a flaw a buyer can claim on.
- Always read and follow the care label — it tells you the safest way to clean each item
- Sort items into three groups: safe to machine wash, spot-clean only, or leave as-is
- Disclose every flaw that remains after cleaning — hiding damage leads to returns and disputes
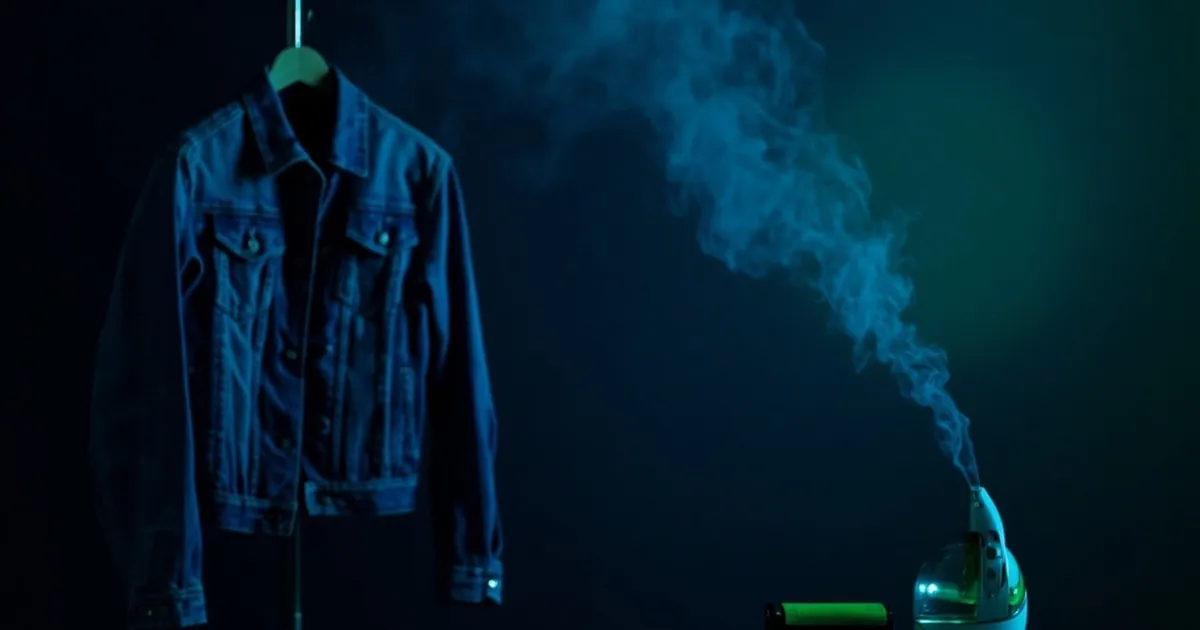
- Steam garments before photographing them — it removes wrinkles without damaging fabric
Cleaning clothes before listing them is not about making them look new — it's about presenting them honestly and getting a fair price. A clean item with disclosed flaws sells faster than a supposedly "perfect" item that arrives with a hidden stain and a return request.
This page covers what to clean, how to decide between washing and spot-cleaning, and why disclosing remaining flaws protects both your reputation and your wallet. For a broader view of managing your inventory efficiently, see our inventory management guide.
Read the care label first
The care label inside every garment is your first and most reliable source of cleaning instructions. It tells you the maximum temperature, whether the item can be machine-washed, and if it needs special handling like hand-washing or dry-cleaning only.
Follow what the label says. If you ignore it and an item shrinks, bleeds, or gets damaged, you've created a problem you could have avoided. Some items have no label at all — typically vintage pieces or items where the tag was removed. In that case, treat the item as delicate: wash in cold water on a gentle cycle, or spot-clean areas that need attention.
Sort by risk: wash, spot-clean, or leave alone
Not every item needs the same treatment. Some clothes are safe to machine-wash, others need only spot-cleaning, and some are better left untouched if the risk outweighs the benefit.
| Machine wash | Spot-clean | Leave alone | |
|---|---|---|---|
| Cotton T-shirts and jeans | Yes | Partly | No |
| Wool knitwear | Partly | Yes | Partly |
| Silk and delicate prints | No | Partly | Yes |
| Leather and suede | No | Partly | Yes |
| Vintage with no label | Partly | Yes | Partly |
A hidden-area test helps for uncertain items. Pick a small, inconspicuous spot — like an inside seam or the back of a hem — and clean that area first. If the colour holds and the fabric reacts well, proceed with the full item.
Odours, pilling, and lint
Odours are one of the top reasons buyers return items or open disputes. A musty smell from storage or a secondhand haul is common, but it's fixable.
For odours: Air the item outdoors for several hours or overnight. Sunlight helps neutralise smells naturally. For stubborn cases, a short, gentle wash cycle with unscented detergent works better than heavy perfumes — buyers prefer neutral-smelling items, and strong fragrances can trigger allergic reactions.
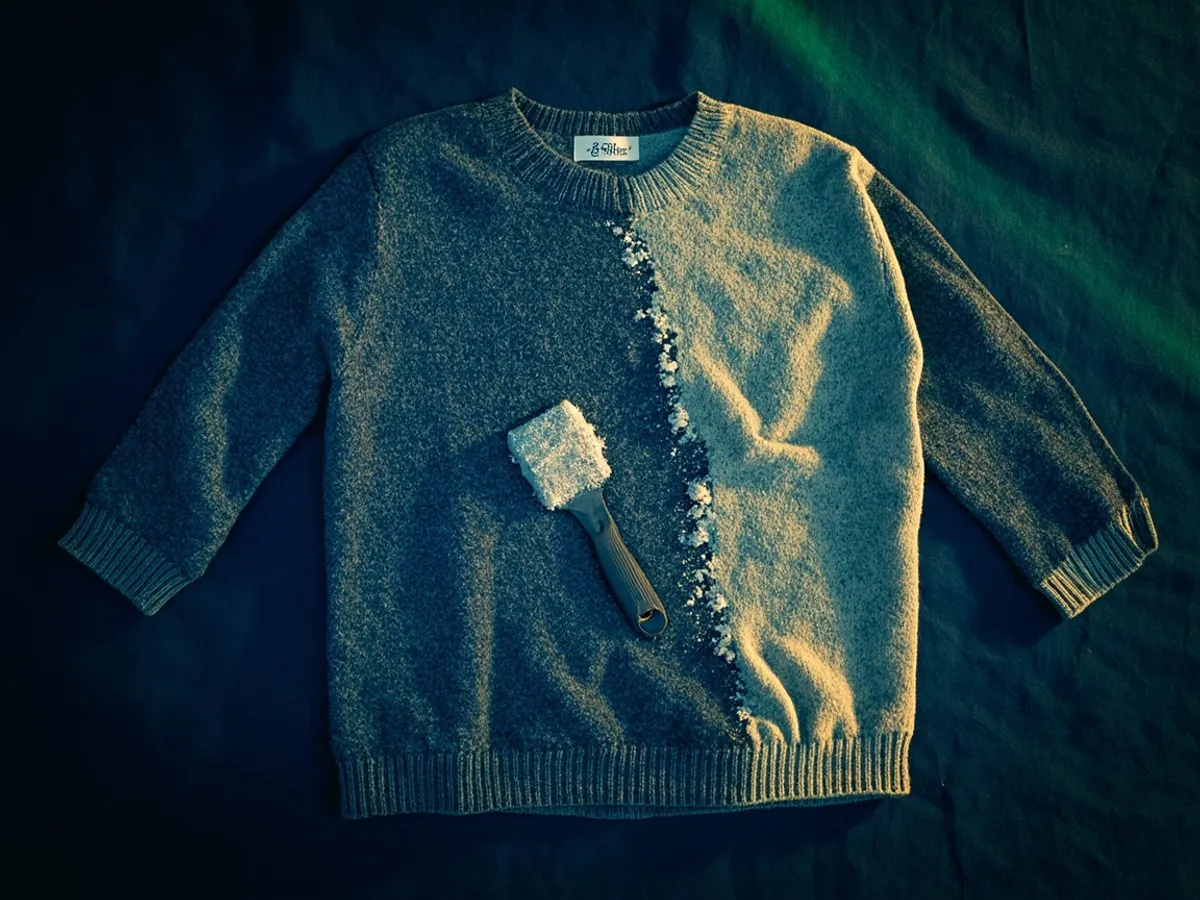
For pilling: Use a fabric shaver or a de-pilling comb. Pilling makes even good-quality items look worn. A quick pass with a battery-operated shaver takes about a minute per garment and dramatically improves appearance.
For lint: A lint roller or a sticky tape roll removes surface lint and hair. This is especially important for dark fabrics where lint shows clearly in photos.
Avoid chemical recipes or brand-name stain removers in your listing — you're describing a method, not promoting a product. And avoid claiming any method "always works" — different fabrics respond differently.
Steam or iron: presentation for photos
When you're ready to photograph the item for your listing, it needs to look its best without looking artificially processed. Steaming is the safer choice for most garments. It removes wrinkles, freshens the fabric, and doesn't flatten fibres the way ironing can.
Iron only if the care label explicitly permits it, and use the lowest heat setting that still does the job. A steamer works well on cotton, linen, synthetics, and most wovens. Delicate fabrics like silk or items with heat-sensitive prints should only be steamed at a distance or not at all.
The goal is a natural, ready-to-wear look — not a crisp, newly-pressed appearance that doesn't match the item's actual condition. For more on photographing clothes, see our guide to product photos for resale.
For the photo shoot itself, good lighting matters more than perfect pressing. Natural daylight from a window produces the most accurate colours and shows fabric texture honestly.
Stains that did not come out: disclose, do not hide
Sometimes a stain simply won't budge. Maybe it's set into the fabric, or it's in a location that makes aggressive cleaning too risky. When that happens, your only option is honest disclosure.
Vinted's condition guidelines require sellers to describe any flaws clearly. The UK help page for condition states that buyers may cancel or return an item if its condition is significantly worse than described. The same rule applies on Vinted Poland, where the condition options are: Nowy, Jak nowy, Bardzo dobry, Dobry, Zadowalający, Wymaga naprawy.
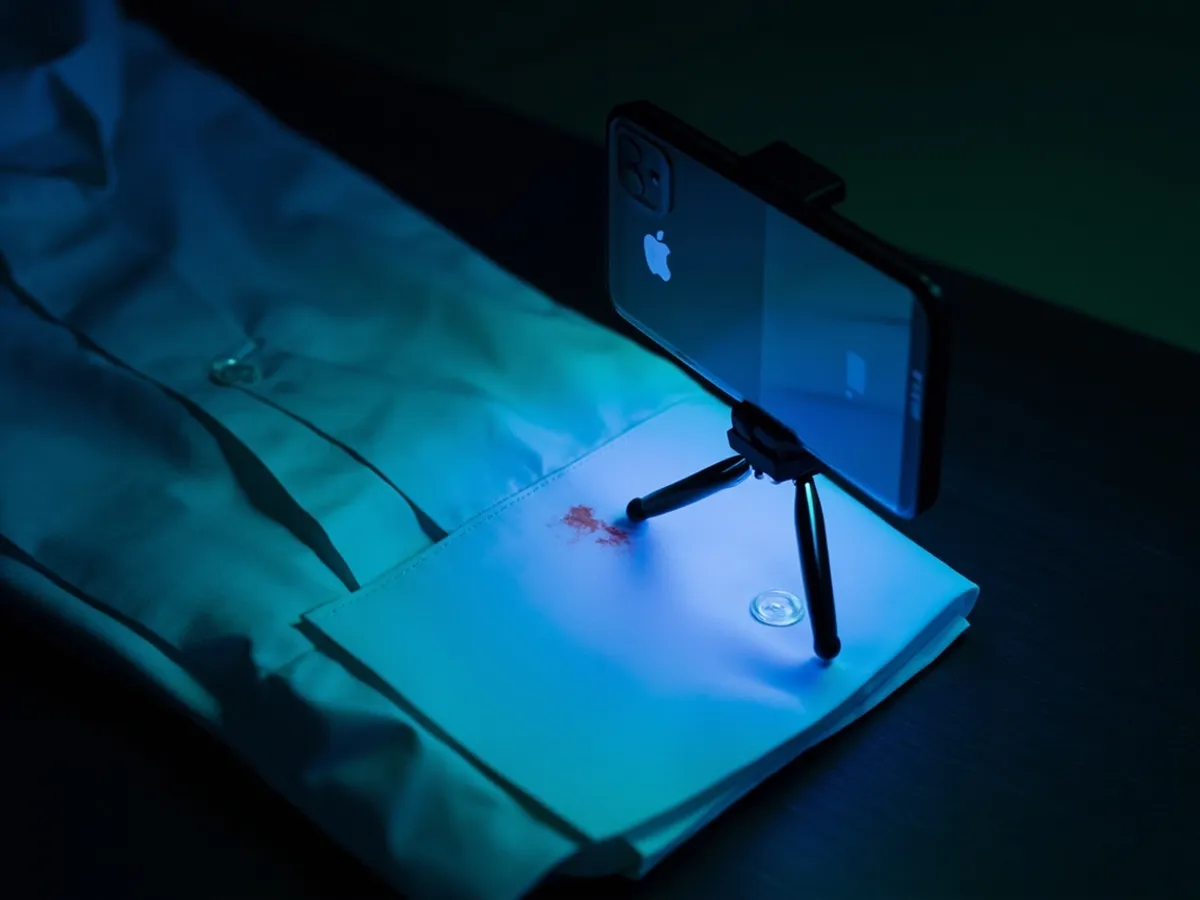
Photograph every flaw separately and describe it in the listing text. Say what it is, where it's located, and roughly how large it is. Then choose the condition that matches the item's actual state. If there's a faint stain on the cuff, the item is not "Very good" — it's "Good" or "Satisfactory" depending on how noticeable it is. See our price by condition guide for how condition affects pricing.
This honest approach prevents disputes, keeps your seller rating high, and builds trust with buyers. If you're unsure what condition abbreviations like NWT or EUC mean, see our condition abbreviations guide.
Time and cost per item
Cleaning takes time, and that time is part of your cost structure. A rough estimate is say you spend 5–15 minutes per item for sorting, spot-cleaning, and finishing. For example, a full wash, dry, and press might take 20–30 minutes.
Most basic cleaning supplies — detergent, a lint roller, a fabric shaver — are one-time purchases that cost little per item. The real cost is your time. Factor it into your pricing, especially for low-price items where cleaning time can eat most of your margin. Our guide to hidden costs in reselling covers the full picture.
Cleaning checklist
Before you photograph and list any item, run through this checklist:
- Checked the care label and followed its instructions
- Sorted the item into the right cleaning category (wash / spot-clean / leave alone)
- Tested a hidden area before full cleaning
- Removed odours by airing or gentle washing
- Removed pilling with a fabric shaver or de-pilling comb
- Removed lint with a roller or sticky tape
- Steamed or ironed the item for a natural, wrinkle-free look
- Checked for remaining stains or flaws
- Photographed each remaining flaw separately
- Chose the correct condition matching the item's actual state
Following this process for every item protects your seller rating, reduces returns, and helps you price accurately. Clean, honest listings convert better and build repeat buyers.
For more on handling disputes when they happen, see our guide to Vinted returns and disputes.
Frequently asked questions
Should I wash clothes before selling them on Vinted?
How do I get a musty smell out of second-hand clothes?
Is it better to steam or iron clothes for listing photos?
Do I have to mention a stain that did not come out?
Sources
- Vinted UK help — Condition guidelines checked 14 Sept 2026
- Vinted PL help — Jak poprawnie ustawić stan przedmiotu? checked 14 Sept 2026
- Vinted UK help — SNAD and returns checked 13 Sept 2026
- Vinted UK help — Returning an item checked 13 Sept 2026
- OLX Pakiet Ochronny — Annex 8 checked 14 Sept 2026
- Vinted UK catalog rules checked 14 Sept 2026
Prepare listings in reva
Early access: reva recognises brand, model and size, suggests a price from the ladder and prepares listing drafts that you review and publish yourself.
reva estimates prices from public listings. Estimates, not guarantees.Keep reading
Inventory management for one-off resale stock: SKUs, storage, cost and listing status, sell-through and turnover, aged stock rules, shipping and returns.
21 min read
Photographing second-hand items that sell: light, angles, flaws and labels, phone settings, marketplace photo rules and why white backgrounds can backfire.
7 min read
How much condition moves resale prices: Vinted's percentage-of-retail guide, how to grade honestly, and how flaws, photos and missing parts change it.
8 min read